Today I am announcing EasyPainter Beta: The Artist Within. An online image editor that is: Fast. Easy. Made for non-designers. And FREE! :)
Click here to open EasyPainter
Note: send feedback in the comments section of this post.
Unlike other online (or many offline) image editors, EasyPainter offers online effects comparable to powerful desktop apps, integrated search for millions of free-for-commercial or -personal use photos, and instant previews of any changes you make.
Find below:
- Quick intro to easy painter
- Many Screenshots
- Getting Started Tutorials
- Effect Tutorials
- Tech Stuff
What Does Easy Painter Offer?
The Basics
- Reveal the true-to-life colors in photos. Make them look like shot with professional camera. Your friends will be wowed!
- The life-like photo filter combines several steps of popular GIMP/Photoshop "how to enhance an image" tutorials into one. Save time with a 1-step effect instead of following an online tutorial.
- Preview effects and changes instantly. It's OK to change your mind – many times per second. That's why we have computers for :)
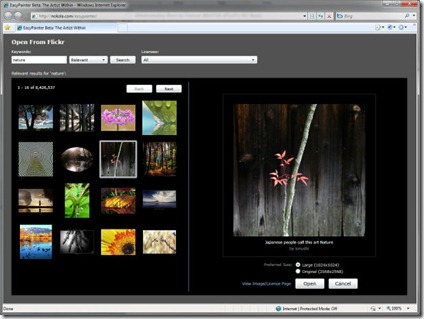
- Find millions of free for commercial use photos for your project from Flickr
- Also filter by "government use", "non-commercial use", and other
- Quickly resize, email size. Flip. Rotate. Draw to select objects and crop with a single click.
- Manipulate huge 25 megapixel panoramas, fast. Powered by bleeding edge Silverlight and Pixel Shader engines.
- Ease of use: tired of figuring out image programs with "Edge Detect", "Bumpiness factor" and "Directional Blur parameters"?
- Work with more intuitive language like: "Hollow Outline", "Fast Motion", "Painting"
- Mix-and-match. Draw on the image while an effect is open at the same time. Switch between effects and see your changes applied instantly
Effects
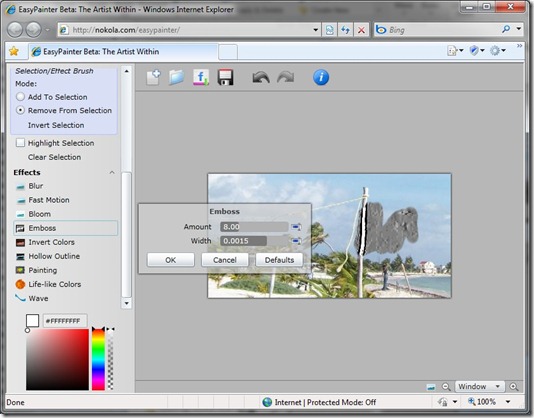
- "Paint" with any effect, such as blur, emboss, bloom, saturation, and more
- Make curves in trees, fluff clouds or perform complex photo manipulations easily by clicking and "drawing" effects with the mouse
- Preview and change at will. For example, move a slider to bend a straight tree back and forth
- Make changes that look good every time. Even if you are not a designer. All EasyPainter filters suggest the best values for your image.
- Compare before and after with a single click on the currently open effect
Screenshots
All images combined are made in less than 25 minutes
The screenshots below are intended to show samples of the functionality. For more tutorials, see the Getting Started and Effects Tutorials sections
Open From Flickr:
.
Painting With Effect:
Original:
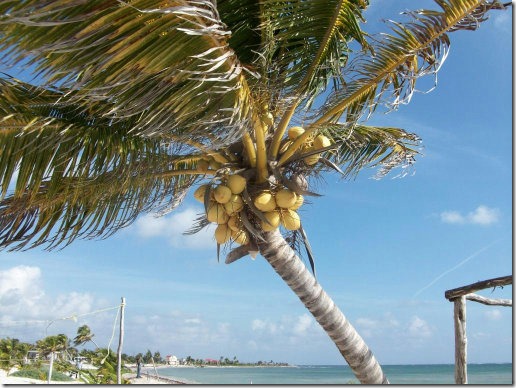
This is the original image being modified in the next screenshots:
Life-like Colors Effect:

How to achieve this effect:
1. Click Life-Like Colors
2. Click OK
Making the Coconuts stick out (Painting with Saturation):
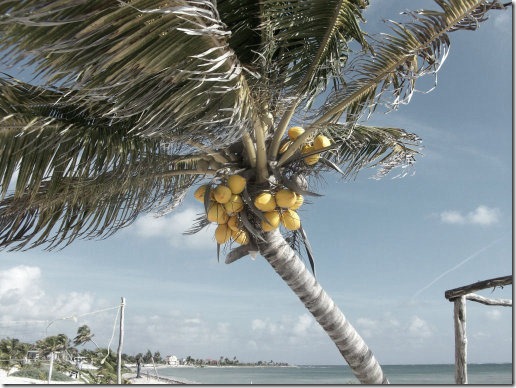
How to achieve this effect: see Effect Tutorials below.
Crop To Selection:
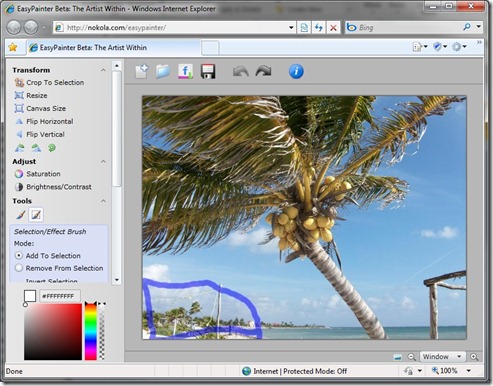
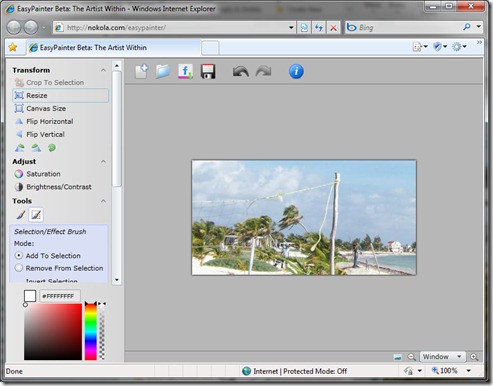
How to achieve this effect:
1. Click the Selection/Effect/Adjust Brush:
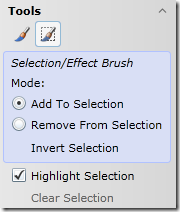
2. Select an area from the image
3. Click Crop To Selection
Painting Effect:

How to achieve this effect:
1. Click Painting
2. Move the sliders with the mouse, or keep the default

2. Click OK
Etching symbols on stone walls, trees, or other surfaces:
Original:
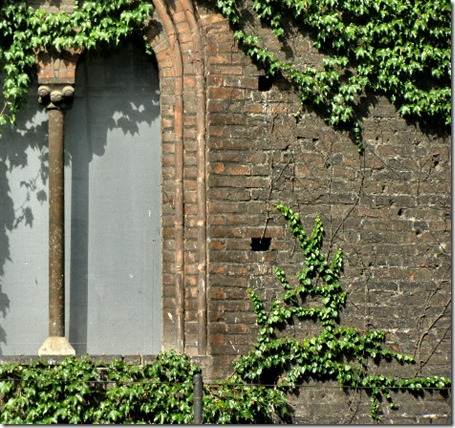
A heart and Nokola etched on the wall:
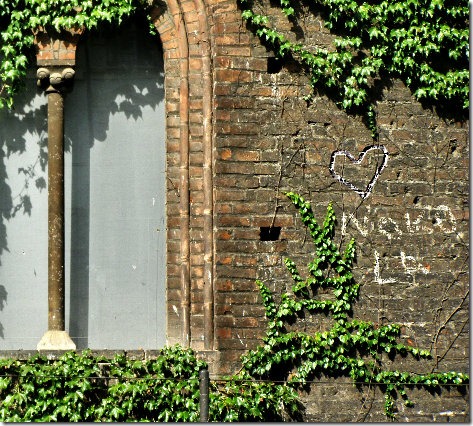
How to achieve this effect: Read Effect Tutorials further below
"Bending" a tree
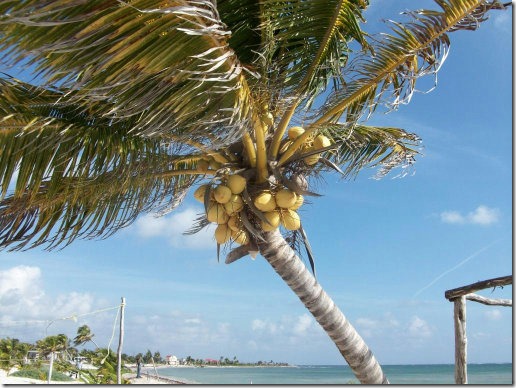
Before:
After (notice the trunk of the palm):
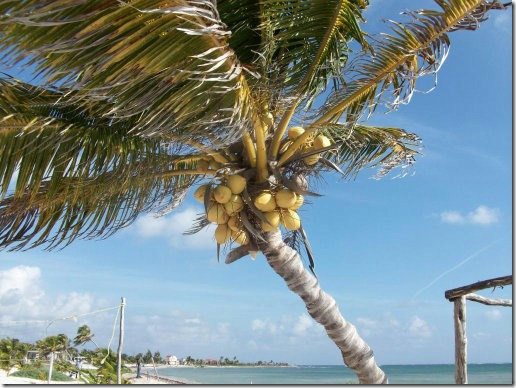
How to achieve this effect: Read Effect Tutorials further below
Getting Started With EasyPainter
Painting with Color
1. Click Brush:

2. Select a color:
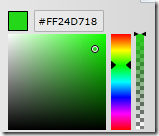
3. Paint:
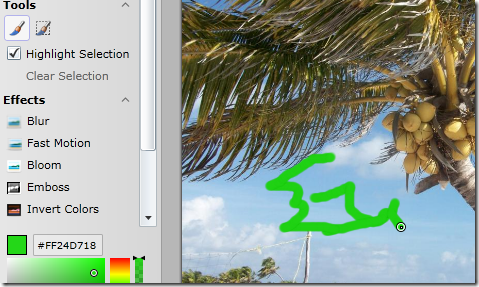
Note: if you have an effect open while painting, the effect will apply to the strokes you are painting as well.
Using Effects and Adjustments
Click the Effect once to select it:

- Change the value by dragging with the mouse, or by clicking the small blue box on the right of the value, then typing with keyboard.
- Click the Effect again to close it (same as clicking Cancel) – good for getting a quick "before and after" preview
- Click another effect to close this one and open the other one
- If you open a previously opened effect, the values will be preserved. Click Defaults to reset to the initial values suggested by EasyPainter.
The Selection/Effect Brush
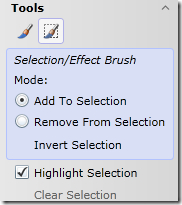
The "Selection Brush" or "Effect Brush" or "Selection/Effect Brush" or even "Selection/Effect/Adjust Brush" is one of the major innovations in EasyPainter compared to other image editors. It is the most important brush in EasyPainter, and most often used
The Selection/Effect brush allows you to select any pixel, or even select a pixel "half-way", which enables EasyPainter to blend effects and other changes smoothly with the rest of the image.
When you use the Selection/Effect brush, you are effectively selecting part of the image by drawing. Then applying an effect, will only change the pixels currently selected. Since the selection brush can select pixels half way, it means that you will not get rough edges when using it.
When you choose an effect, the Highlight Selection box is cleared, allowing you to preview the effect without the selection highlight.
The Selection Brush is also called Effect Brush, because it allows you to paint with any effect.
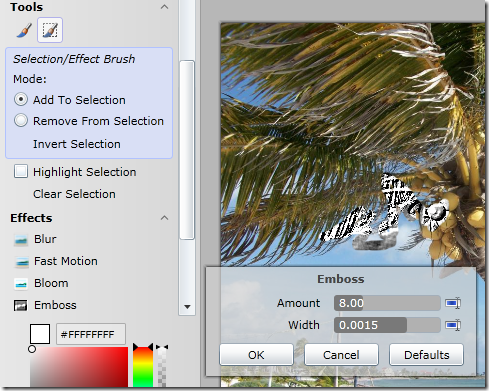
Combining Selection Brush with Effect: Select any effect while the selection brush is active, and paint.
Example: Painting with Emboss Effect:
Effect Tutorials
Making the Coconuts stick out (Painting with Saturation):

How to achieve this effect:
1. Click Selection/Effect/Adjust Brush, Select Remove From Selection, Click Invert Selection
The screen should become blue (all selected)
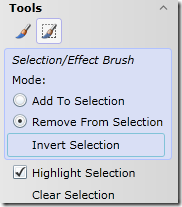
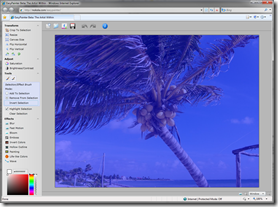
You have everything selected on the image.
2. Click Saturation. Change the saturation value to 0.30 or so.
Note that the selection highlight disappears so you can see the effect better (The Highlight Selection tick mark is gone).
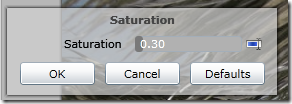
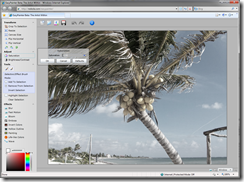
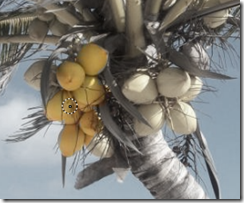
3. Start painting over the coconuts. As you paint, their selection will be removed, and thus they will not be affected by the saturation filter:
Here are half of the coconuts painted:
4. After you finish painting the coconuts, change the Saturation again, as you please. I decided to set it to 0

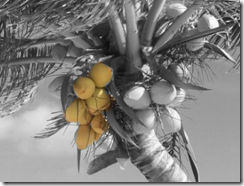
5. Click OK on the Saturation effect. The selection highlight will be visible again. You can apply another effect now (like Blur), or just Clear Selection.
Selection highlight is visible again after clicking OK:
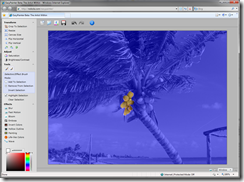
The image after applying a slight blur to the grayscale parts:
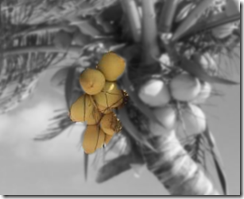
6. Remember to Save your changes!
Etch symbols on stone walls, trees, or other surfaces:
Original:

A heart and Nokola etched on the wall:

How to achieve this effect:
Download the free image from here: http://www.sxc.hu/browse.phtml?f=download&id=838574
Note: you may need a free account to access the site. If you don't want an account, use an image of your choice.
1. Click Open and open the image from your computer

2. Click the Selection/Effect Brush:

3. Draw a heart or other symbol on the wall with the Selection/Effect Brush:
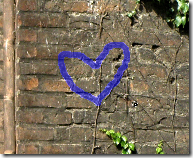
4. Click Emboss. Click OK, then Clear Selection
This is what I ended up with:
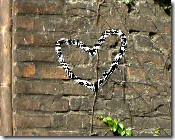
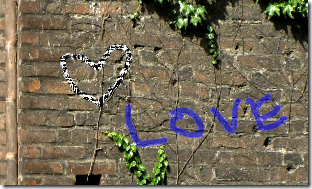
Now we'll draw the letters. We don't want them etched in as much.
5. Draw some text below it using the Selection/Effect Brush:
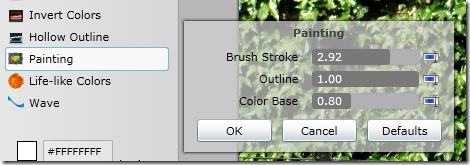
6. Click Painting and play with the default parameters until you like the effect. I increased Brush Stroke a bit:
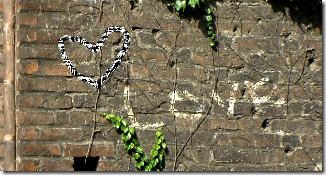
7. Click OK. Remember to Save your work!
"Bending" a tree
Before:

After (notice the trunk of the palm):

How to achieve this effect:
1. Click the Selection/Effect Brush:

2. "Paint" some selection over the palm tree's trunk:
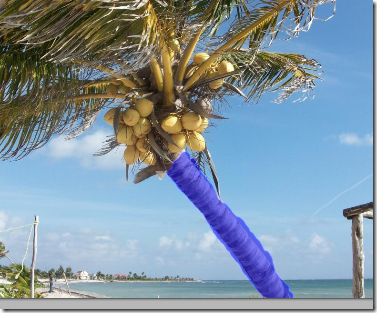
3. Click Wave:
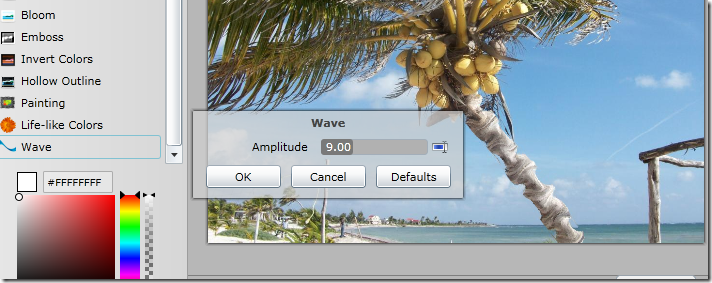
Notice how some parts of the palm trunk don't look quite good yet? There is some "trunk" pixels "floating" next to it.
We'll fix these in the next step.
4. Without closing Wave, click and draw on the artifacts to eliminate them. The effect is applies instantly as you draw:
Here is the fixed up palm:
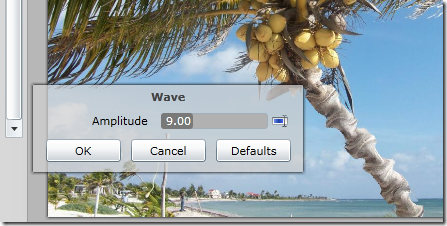
5. Decrease the Amplitude slider until you are very satisfied with the effect:
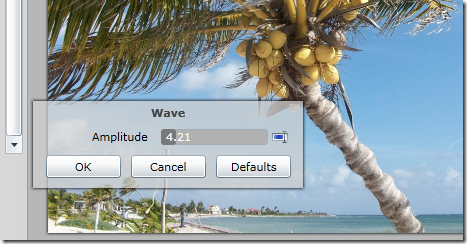
6. Click OK. Remember to Save your work!
Tech Stuff
The tech stuff (and sources) will come in the next posts.
For now, I will only mention the two major innovations in EasyPainter:
1. It is using pixel shaders for all effects. You are effectively drawing with pixel shaders! :) This means everything can be computed at real-time!
2. It has the notion of "semi-transparent selection". I haven't seen this anywhere before (still I'm not a designer so probably there's a program out there doing it). It means that the selection can select a full pixel, but with "half" transparency, which allows effects and image changes to blend in nicely with the background.
The above 2 innovations allow the "paint with effect" functionality
The current size of EasyPainter is just below 250KB. Yay! :) (it went a long way from 1+ MB, but I'll talk about that too!)
Thank You for Reading! Paint Easy!
If you have any comments, ideas for improvement, or any other feedback please comment below!